
PAR 3 | 133 – 204 YARDS
About this hole
The original Braemar layout had a par 3 in this same spot that played downhill to a similar green location. It was a favorite memory of the locals.
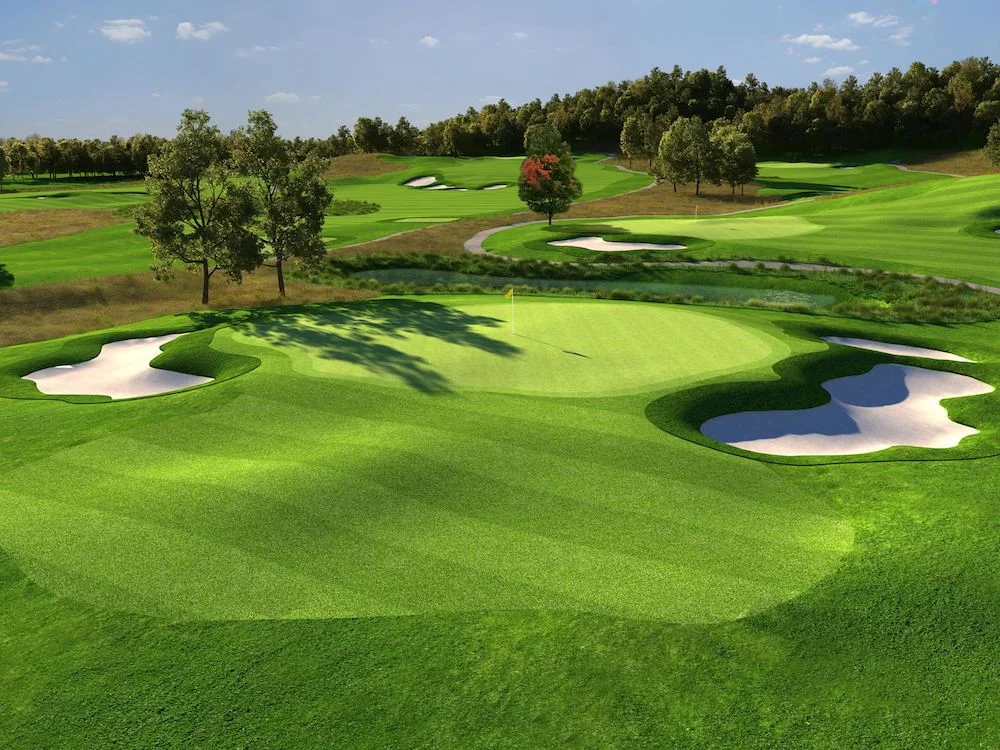
The views of surrounding holes four, five, six, 14 and 15 are worth the trip as is the distant Minnesota landscape. From a design standpoint, the three-club difference from back tee to green tempers the long climb. The putting surface is broken into five separate pin placements set almost in a pinwheel fashion around the center point, some of which are separated by ridges and others by swales.
Yardages
| Tee | Length |
|---|---|
| Championship | 204 |
| E | 189 |
| D | 178 |
| I | 151 |
| N | 144 |
| A | 133 |
Playing tip
Demanding on walkers, yes, but the view is too good to pass up. Rarely does such elevation change (more than 80 feet downhill) present itself on a site that isn’t found in the mountains. Yet as such a dramatic view of the Twin Cities as this hole affords, the green still presents a challenge in the form of a series of high points scattered randomly from back to front and side to side. Three sand bunkers frame both sides of the green. A short tee shot must be followed up with a recovery shot played over a mound/ridge complex onto the putting surface.